Remember my
Kids Sweater-Apron Tutorial from a while back? Well, I decided to post the entire thing over here on my blog, instead of redirecting everyone over to my
Flickr. It's another one of my ploys to draw readership and get to know more about my readers (
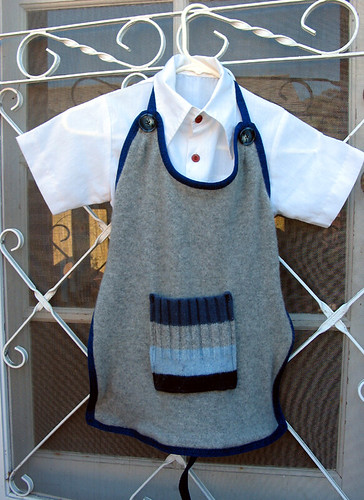
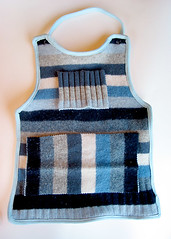
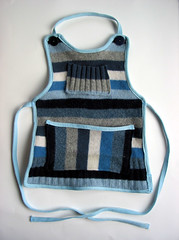
last time I got to meet so many lurkers — fun). And, just to make it exciting for youz guyz, there's going to be another give-away. Since my sons love the original two aprons, I've made up another one (solid gray with stripe-y pocket and navy trim) for the lucky winner. This time it's cashmere — what it lacks in density and structure it makes up for in softness — mmmmmmm, cashmere. It's big enough for a five-year-old, but could be worn by someone more wee.
Same rules apply: leave a comment on this post, AND, link back to this tutorial on your blog or flickr. In about a week, I'll have a kid pick a name out of a bowl. I'll post a reminder with the actual cut-off time before then.
------------------------
Green Kitchen's
KIDS SWEATER-APRON TUTORIAL
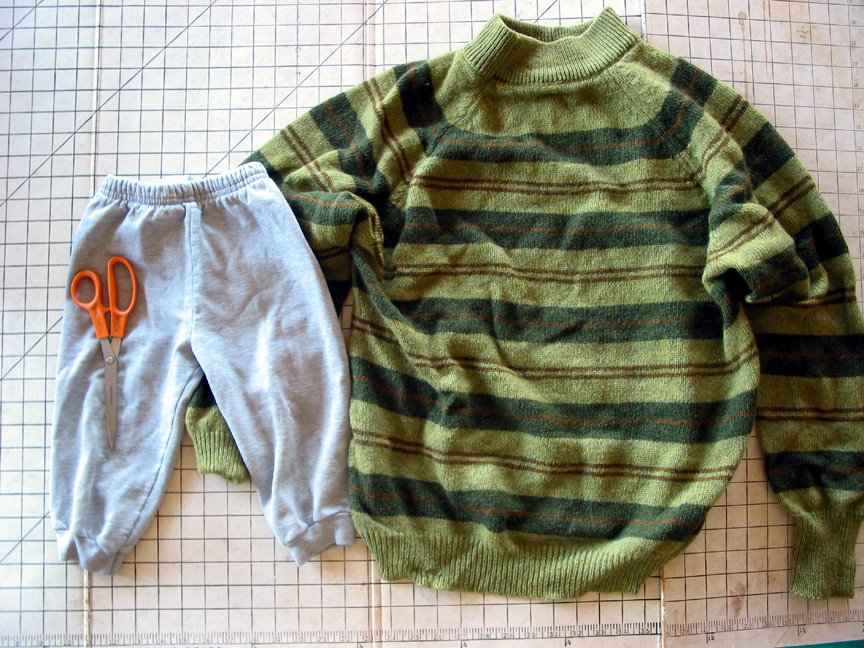
Materials:
One shrunken adult-sized wool sweaterSeam binding or other edge trim
Buttons (optional)
Sewing machine
Thread to match or contrast
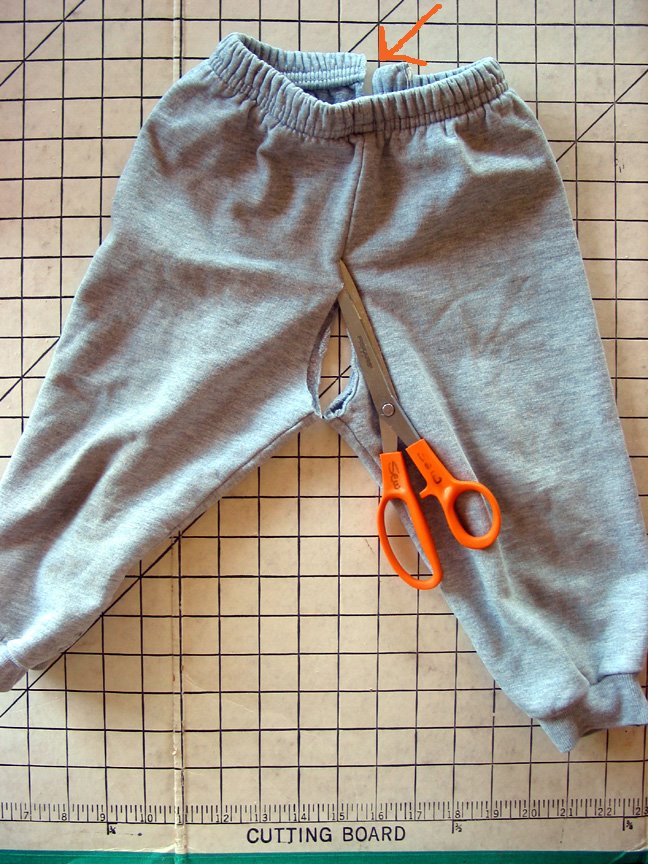
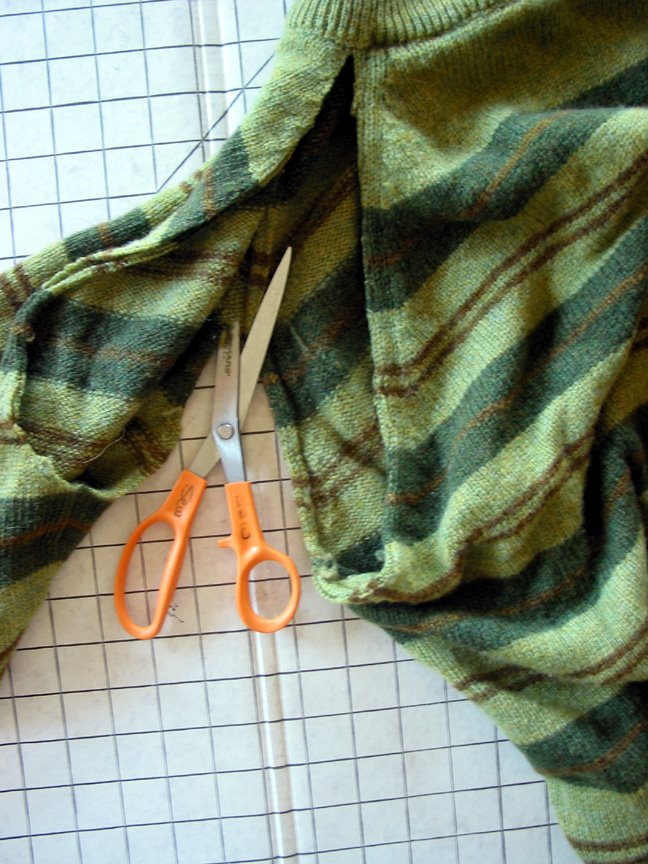
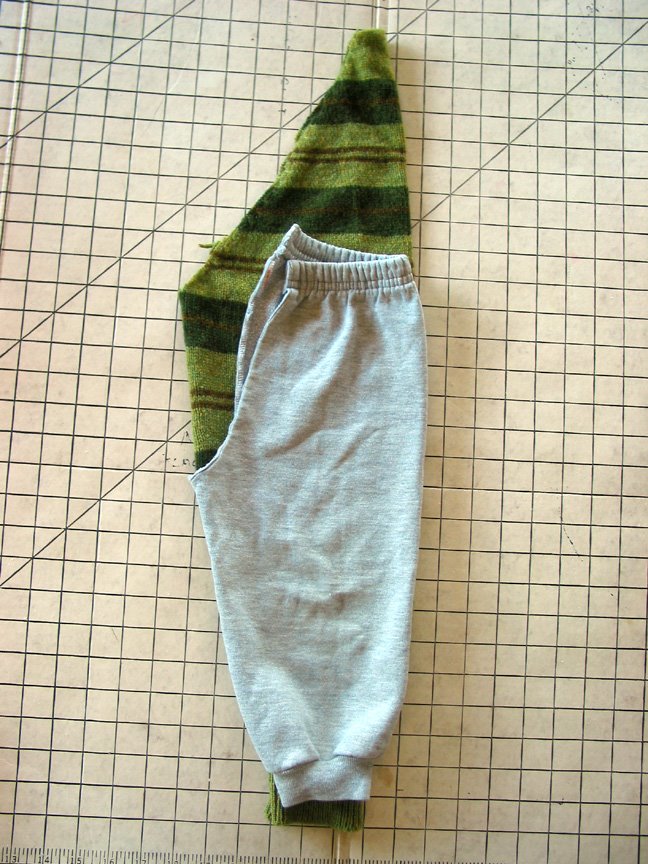
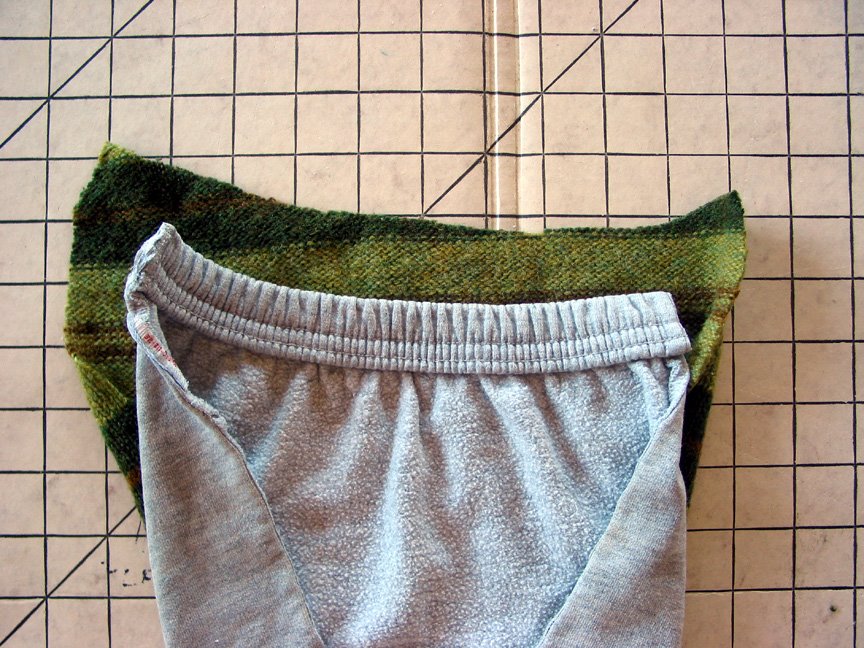
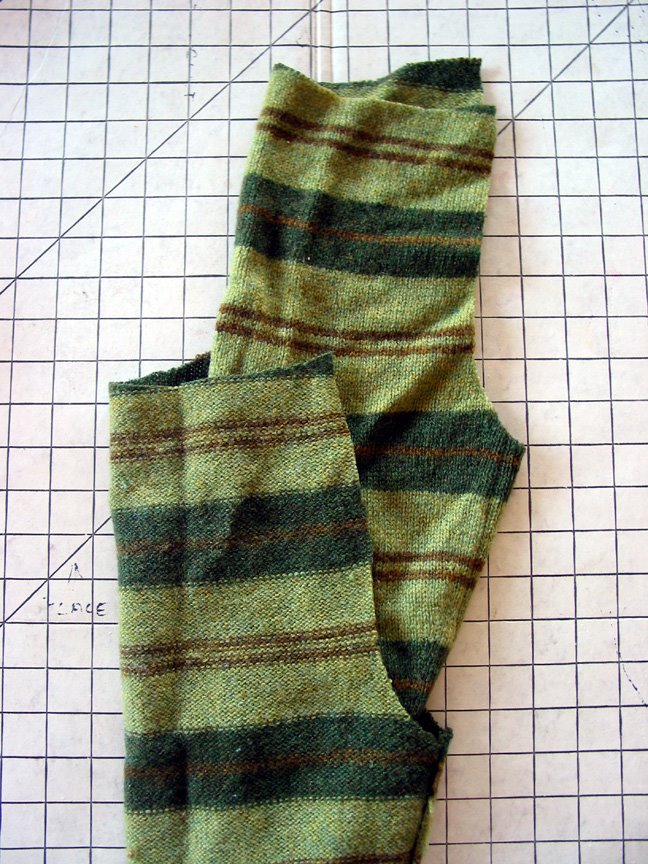
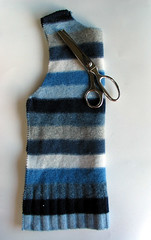
 Step 1: The Rough Cut
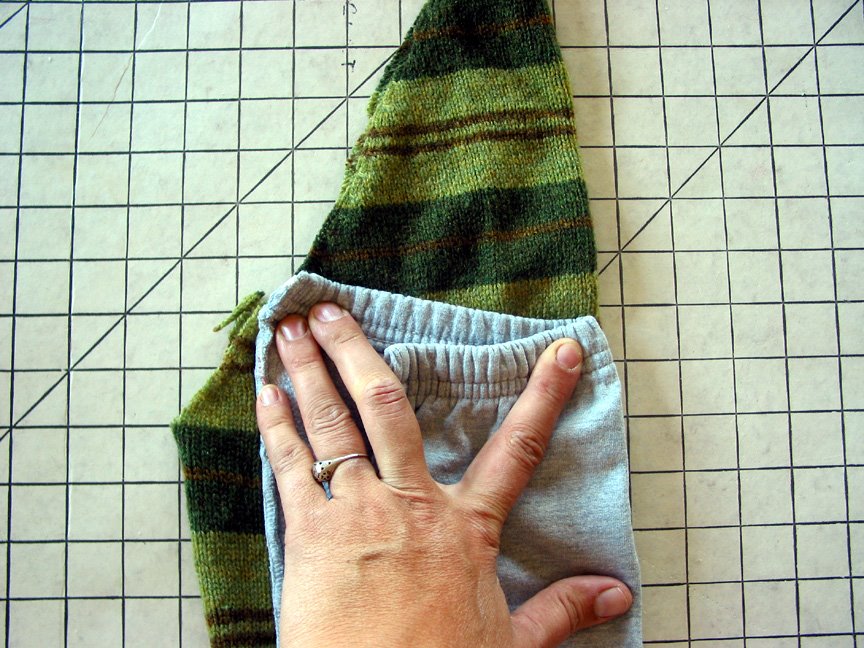
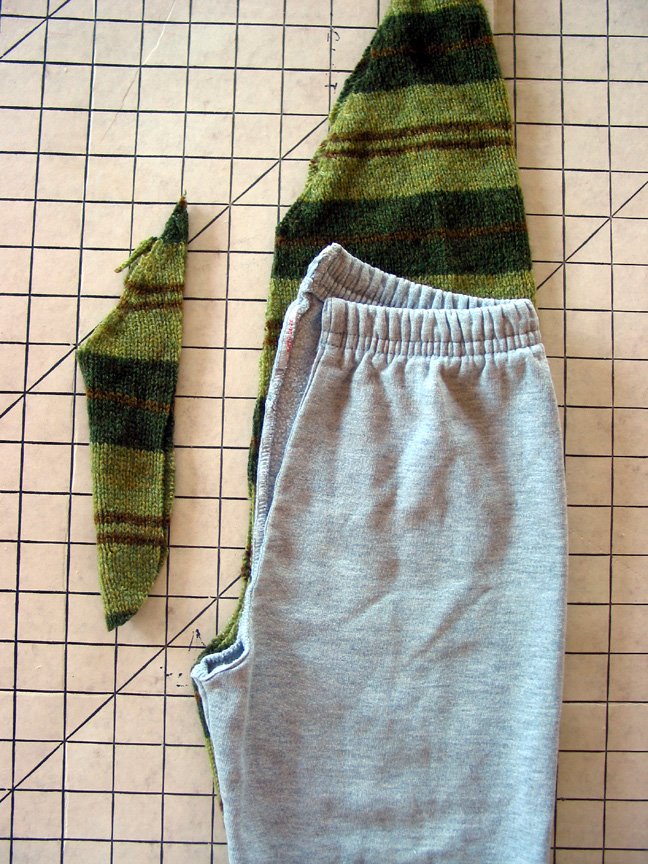
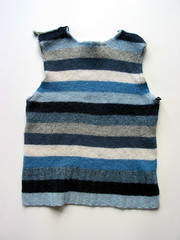
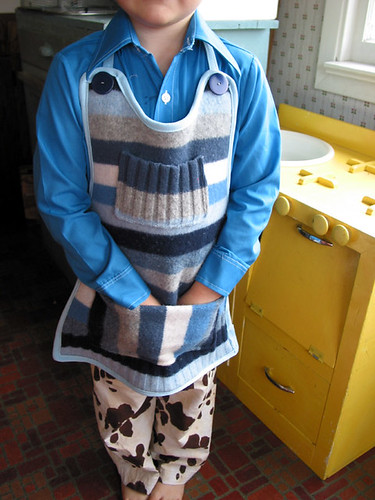
Take one fulled/felted/shrunken sweater, and, using pinking shears, cut along the seams to separate the pieces (front, back, sleeves). You should be able to make two aprons out of one sweater. Hold the body piece of sweater up to the recipient for sizing. Make adjustments to length, width, neck shaping, etc. This sweater was just right for my son, so I didn't alter the shape. The second apron I made (see end of this post) was a slightly different design with more altering. Use your imagination and let the sweater give you ideas for what works best.
 Step 2: Trim the Seams
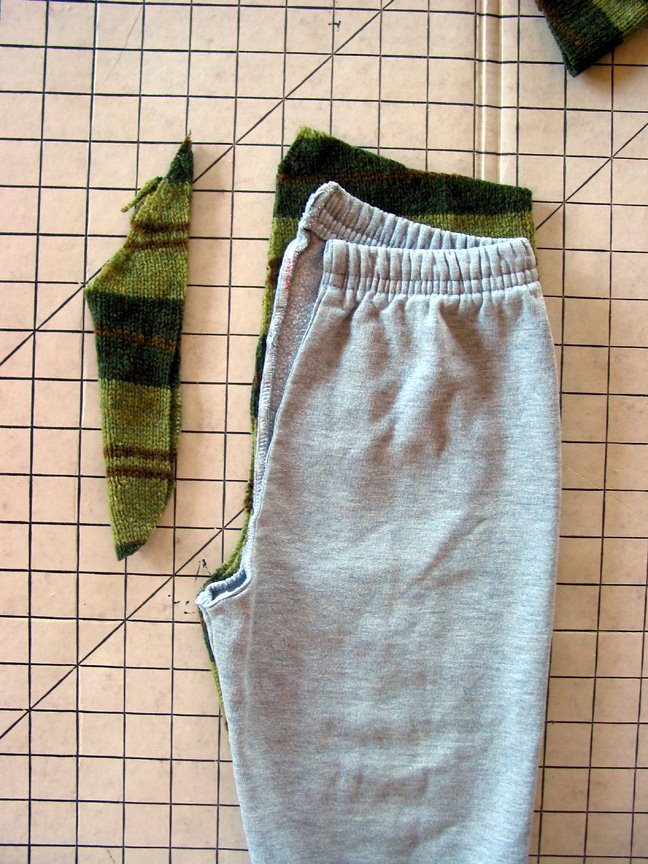
Trim off any thick seams. You only want to have one thickness of sweater to work with.
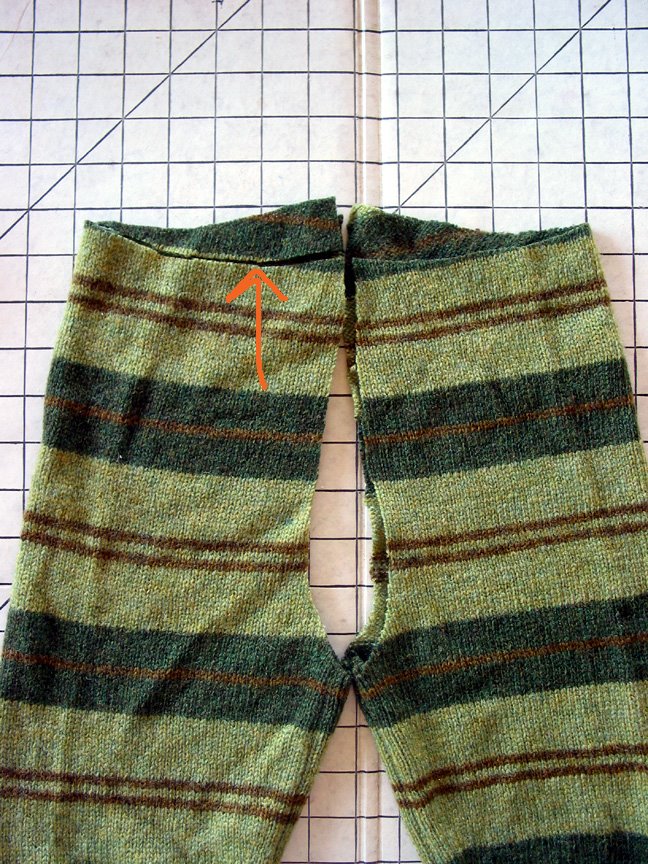
 Step 3: Even Things Out
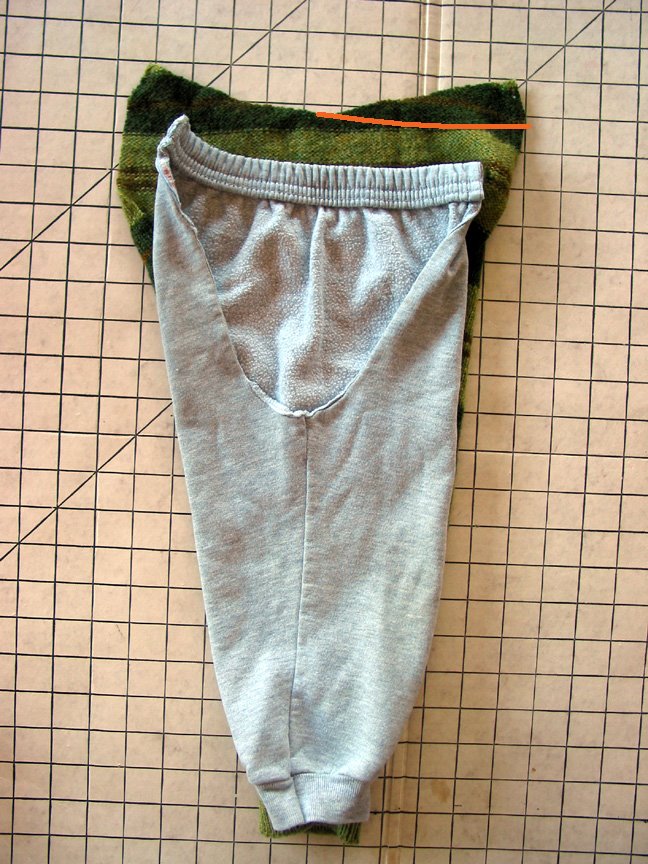
Fold sweater piece in half vertically to make sure the sides are symmetrical. Trim where necessary.
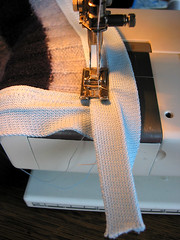
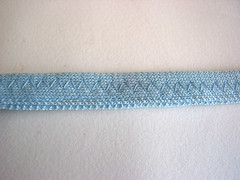
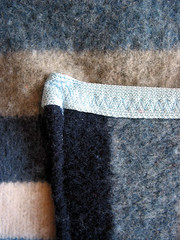
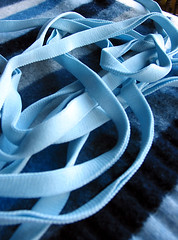 Step 4: Choose a Binding
I used a polyester knit seam binding because that is what I had around. Having a knit binding is important because you need to stretch the binding around the thick sweater edge. I'm sure you could do it with a woven, but you'd need to make sure it's pretty wide to take the sweater thickness into account. Make sure you have enough binding before you start sewing. Don't trim it until you have sewn it on.
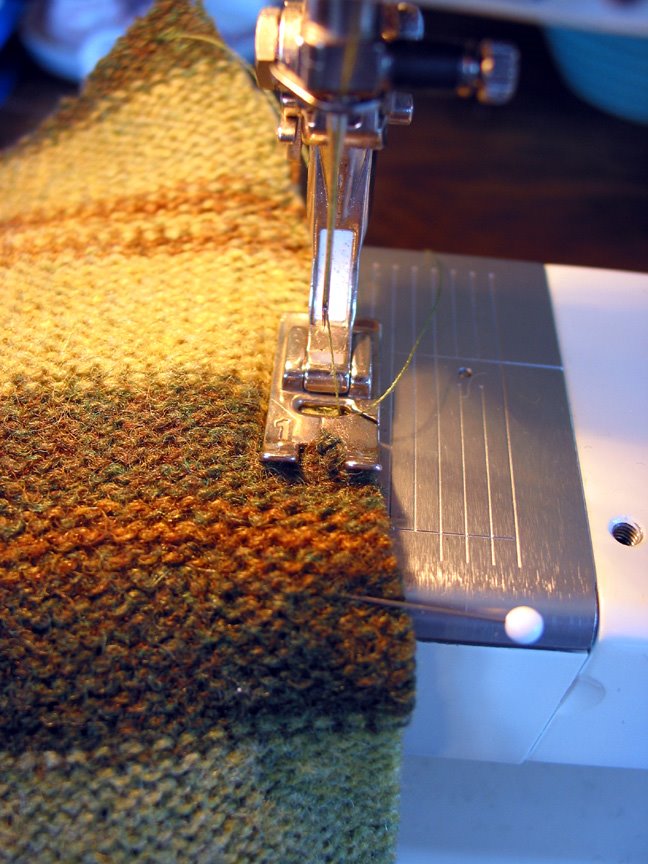
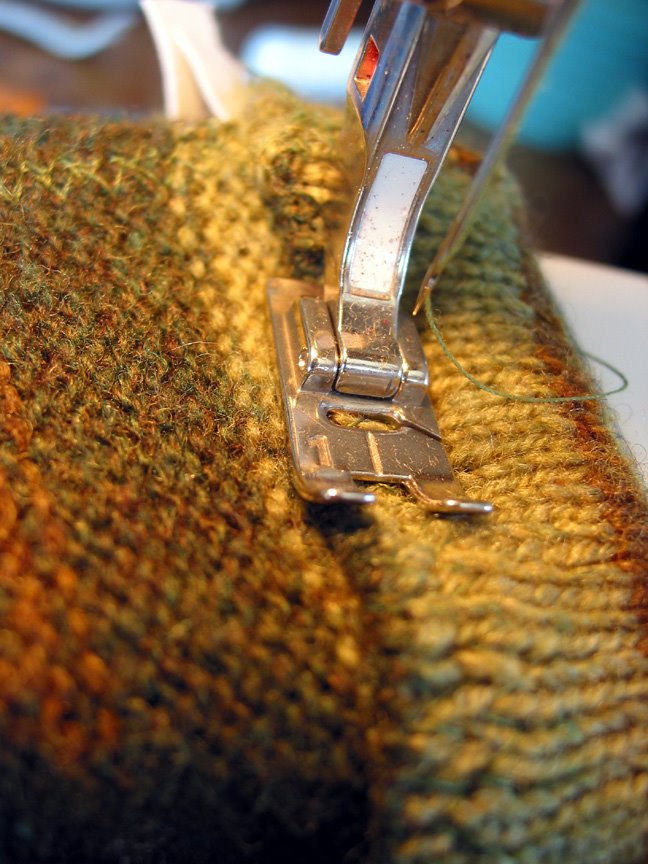
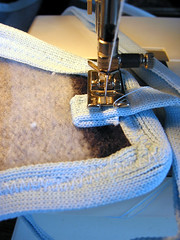
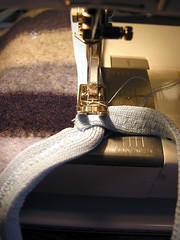
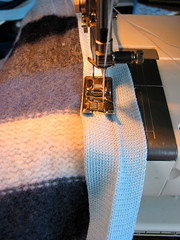 Step 5: Sew Binding to Back
On wrong side of sweater, zigzag stitch the seam binding around the apron. Try to keep the stitching close to the edge of the sweater, so, that when you turn the binding to the other side, it gets hidden by the binding. I went quickly and some of my zigzag shows on the front.
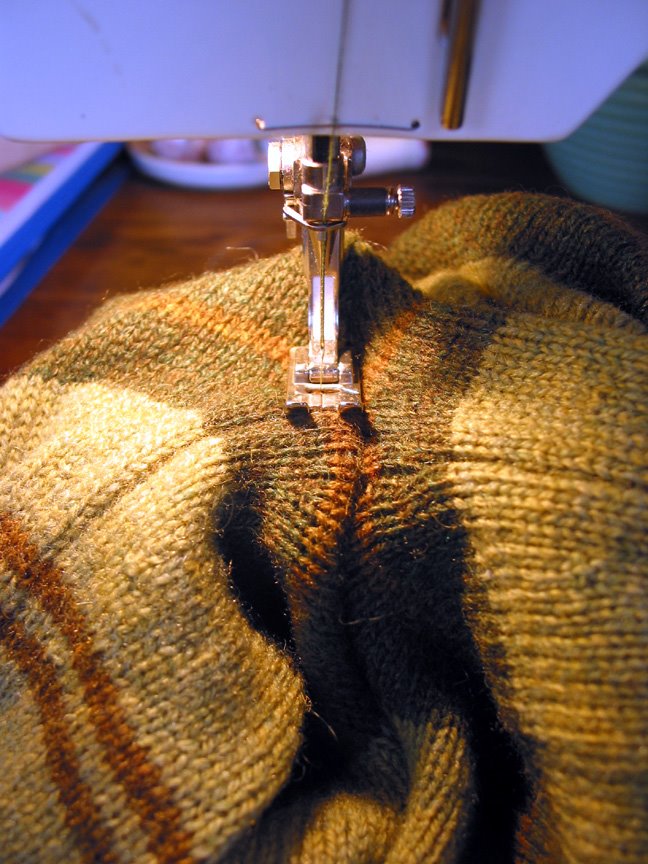
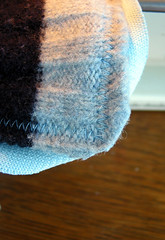
 Step 6: Miter Corner
At corners, lift foot and miter the corner of the binding. Lower foot and continue. The knit binding is pretty forgiving, so I didn't worry too much about making perfect corners. I just tried to not have obvious gaps or lumps.
 Step 7: Binding Off
When you get all the way around the apron, trim off extra seam binding, leaving a couple inches for finishing.
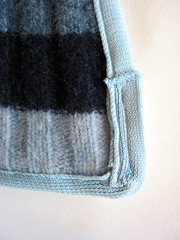
 Step 8: Cutting Corners
Because of the thickness of the sweater, clip the corners to make it less bulky before finishing the binding.
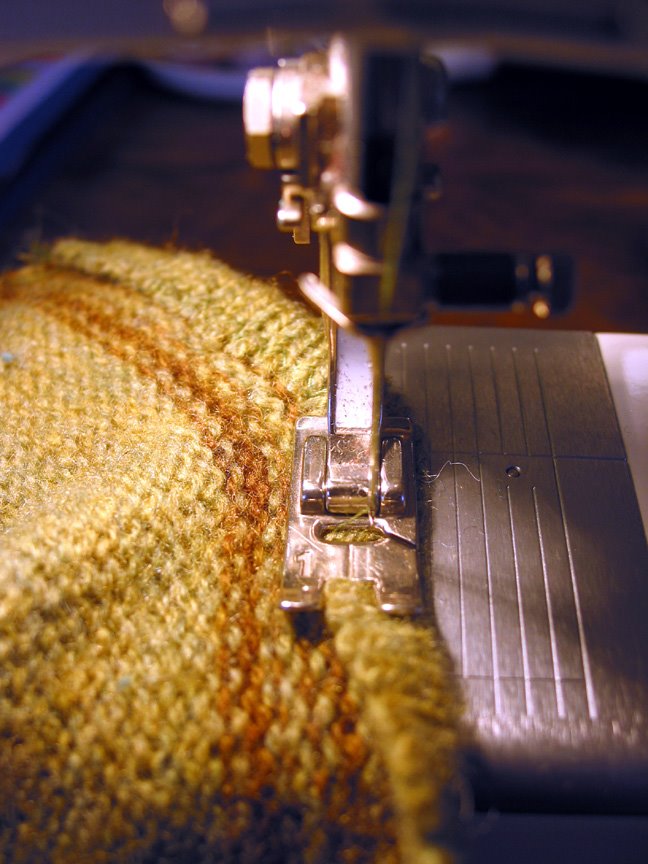
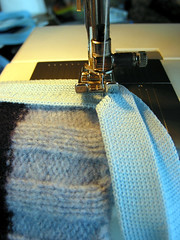
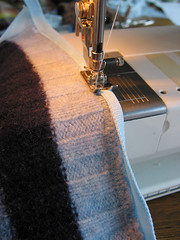 Step 9: Binding Front Side
Fold seam binding over to the front of the apron and straight stitch it close to the edge of the binding.
 Step 10: Seam Binding Finish
This is how I finished off my binding. It's not beautiful, but I couldn't really think of something else to do to make it look better without doing some hand stitching. I zigzagged the end, overlapped, and stitched. Folding over the end would have made it much too bulky.
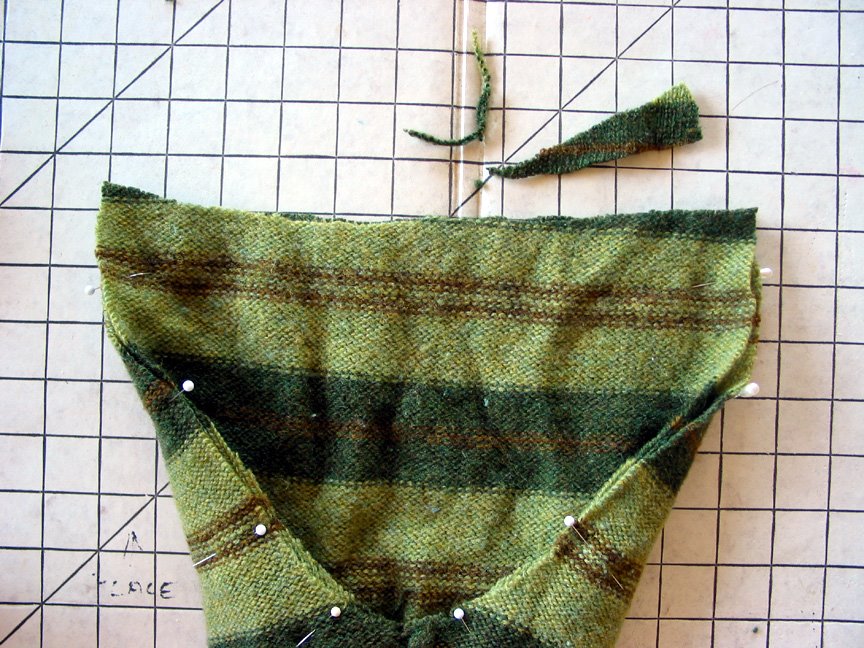
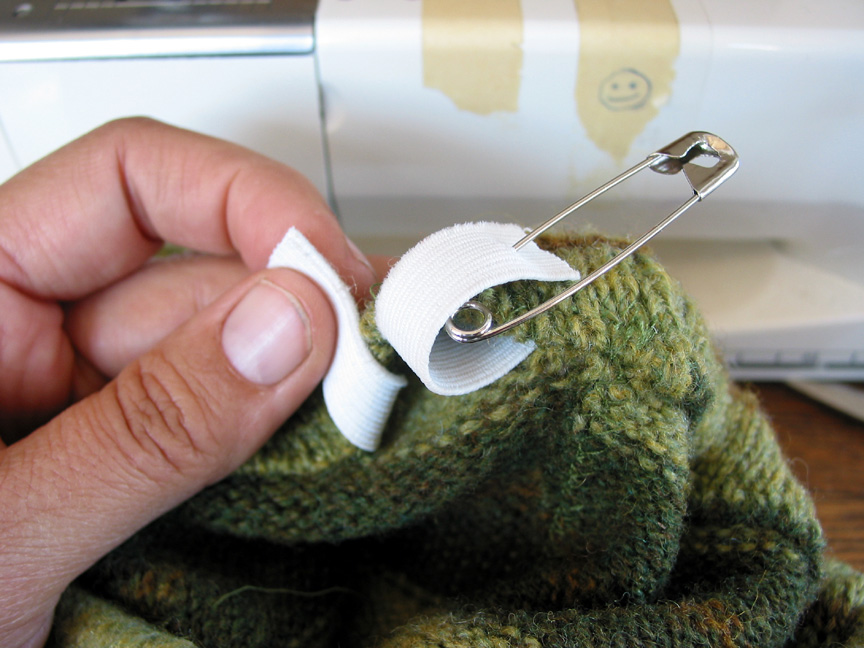
 Step 11: Neck Strap & Ties
To ready the seam binding for the neck strap and apron ties, I zigzag stitched the seam binding to itself so that it wouldn't flap open. You could leave this step out if you are in a hurry. You can see by my uneven stitching that I was in a bit of a hurry.
 Step 12: Attach Neck Strap
Fold over ends of neck strap and stitch to sweater fabric just under the binding at the shoulders. I didn't stitch the neck strap to the binding because I didn't want it to show on the front. This made for a bit of extra work because I ended up hand stitching the front of the neck strap to the shoulder of the apron to avoid the gap.
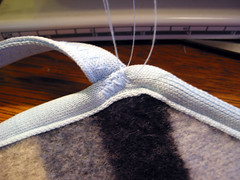
 Step 13: Strapped
This is the back of the apron after the seam binding and neck strap are attached.
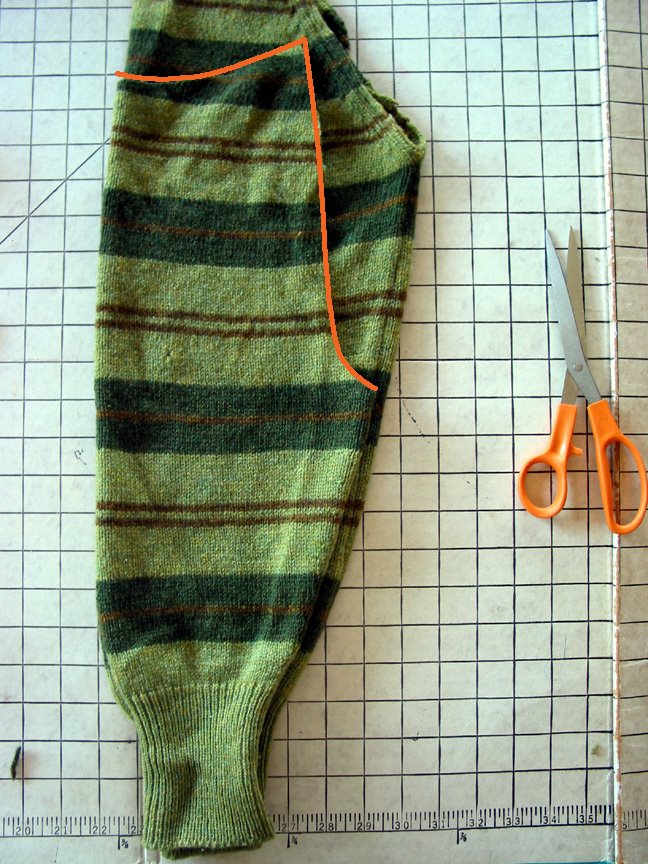
 Step 14: Fashion a Pocket or Two
I used one of the sweater sleeves to make the pockets. A contrasting sweater piece could also be nice. Cut along the seam on the sleeve to see what you have to work with.
 Step 15: Lay Out Pockets
I used the sleeve cuff for the little top pocket and the bulk of the rest of the sleeve for the big pocket. Trim pockets to fit, making sure to square them up as you go. Use your creativity when choosing pocket placement, size, and orientation.
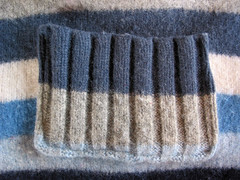 Step 16: Pocket Detail
The little pocket at the top is made from the sleeve cuff. Since it's edge is already finished I didn't do any seam binding, just turned the edges on three sides and top stitched.
 Step 17: Pocket Binding
The big pocket needed a finished edge on the open side, so I put some seam binding on it, same as the apron edge. But, this time, I just ran a zigzag stitch on the front.
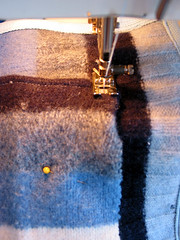 Step 18: Sewing Pocket
Pin pockets in place and then sew, hand turning the seam, and top stitching about 1/8 inch from edge. At the top of the pocket, where the binding is, I did a bunch of reinforcing stitches so it wouldn't tear out.
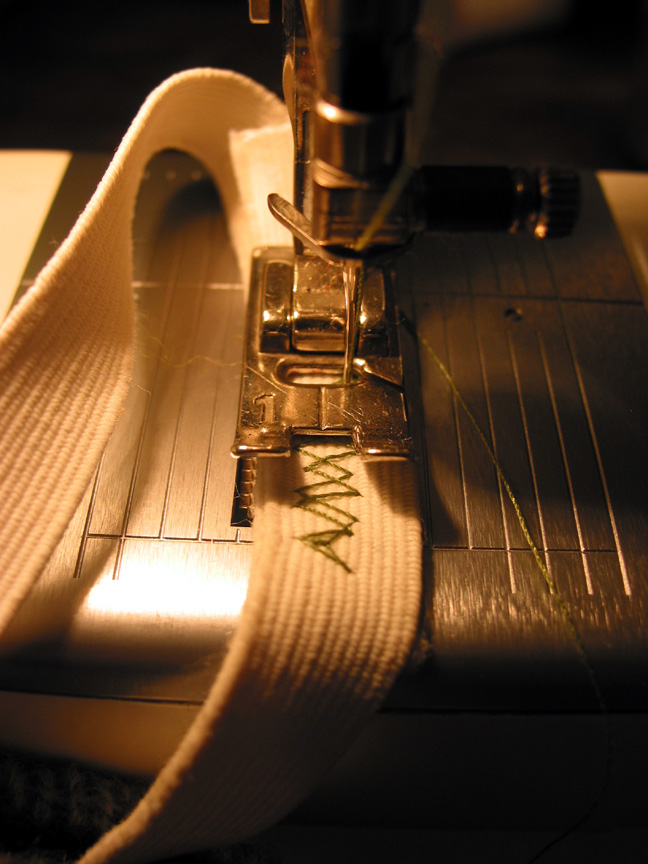
 Step 19: Sewing Ties
To make the apron ties, cut two equal lengths of seam binding. I guessed on length and they turned out a little long. Just make sure they're not too short. I attached the straps directly to the binding on the back side. It seemed like the strongest place and I didn't mind that it would show on the front because it's an area that is mostly hidden. Reinforce with many back and forth zigzag stitches.
 Step 20: Tie Front Attachment
This is the front of the tie attachment.
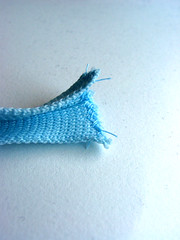 Step 21: Tie End Finish
I zigzag stitched the end of the ties to keep them from unraveling. It's not the prettiest solution, but for a utility garment I thought it was fine.
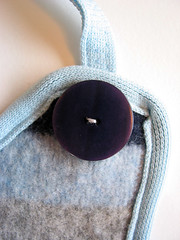 Step 22: Button Detail
I attached a button to the front of the apron to cover the stitches from the neck strap.
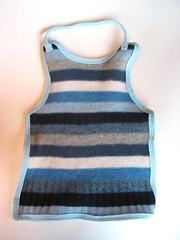
 Step 23: Ta Da!
You are finished.
--------------------------------------
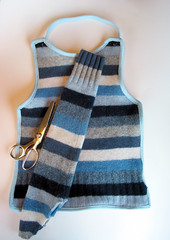
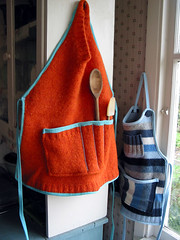
Variations on a theme:Because of the kind of V-neck sweater I had on hand, my next apron became a halter style one. The front pocket was large, so I divided it into one medium-sized pocket and smaller ones for putting kitchen tools.

Buon Appetito! And, don't forget the link-o.
Labels: giveaway, kids clothes, sewing, tutorial